背景介绍
偶尔看到一个blog,发现整体简洁实用。就想着部署一个 Github Pages。主题是 hexo-theme-book。不过作者转 Hugo 了,也不怎么维护这个仓库了。
作为这个主题的第一篇文章,干脆记录下这个主题部署起来的一些问题。
Hexo
概念介绍就不多提及了。安装过程参考官网文档即可。
我使用的是 node.js corepack 自带的 pnpm 包管理器,所以全文安装依赖均使用 pnpm 方式。
环境:node@v18.12.0,pnpm@v7.28.0
版本:hexo@v6.3.0
装不上的 hexo-renderer-scss
通过 hexo init 生成的项目默认安装的 hexo-renderer-stylus,而该主题使用 Sass 预处理样式文件开发,所以需要提前安装 Sass 的渲染器,主题文档中使用的是 hexo-renderer-scss。
1 | pnpm add hexo-renderer-scss |
不出意外的报错了:
1 | node_modules/.pnpm/node-sass@4.14.1/node_modules/node-sass postintsall |
原因是 node 版本太高了,而 node-sass@4.14.1 需要 nodejs@v14 版本,版本不匹配。
node-sass 和 node 版本需要匹配
| NodeJS | Supported node-sass version | Node Module |
|---|---|---|
| Node 18 | 8.0+ | 108 |
| Node 15 | 5.0+, <7.0 | 88 |
| Node 14 | 4.14+ | 83 |
将 node 降低到 14 版本(14.21.1),然后再次安装就可以了(近期作者有升级 node-sass 的版本依赖到 7,但是没有发布新的 release)。
使用 hexo server 本地跑起来,结果又报错了:
1 | FATAL Something's wrong. Maybe you can find the solution here: https://hexo.io/docs/troubleshooting.html |
还好可以追踪到报错的位置 themes/book/scripts/render.js:52:31。查看代码:
1 | hexo.extend.filter.register('after_generate', function () { |
大概猜到是这两个文件没有匹配到,继续查找,可以看到 themes/book/_config.yml 中有如下配置:
1 | home_page: home.md # filepath under /source/ |
原来是根目录下的 source 中缺少 home.md 和 menu.md 两个文件,补充上就可以正常运行了。
现在只能在 nodejs 14 版本运行,和我的主要环境不一致以外,还有 node-sass 的不稳定和编译速度一言难尽。所以需要找到一个
舍弃 node-sass 拥抱 dart-sass
来自官网的警告:
Warning: LibSass and Node Sass are deprecated. While they will continue to receive maintenance releases indefinitely, there are no plans to add additional features or compatibility with any new CSS or Sass features. Projects that still use it should move onto Dart Sass.
除了 node-sass 已经不再维护外,也为了支持更高的 node 版本,所以决定不使用 hexo-renderer-scss 而是使用 dart-sass 的渲染器。
在 Hexo 的插件市场搜索到一个 hexo-renderer-dartsass,安装使用一切OK。
hexo-renderer-dartsass 作者也两年没有维护了,为了方便维护,也为了了解下 Hexo Renderer 的使用和开发。所以还是搞了一个自己的渲染器hexo-renderer-dartsass-next。
改造 hexo-renderer-dartsass
主体是 fork 的 hexo-renderer-dartsass 代码。
修改的点有:
-
将 dart-sass 版本升级到了最新,将
sass.render()替换成sass.compile()The legacy API has two entrypoints for compiling Sass to CSS. Each one can compile either a Sass file by passing in LegacyFileOptions or a string of Sass code by passing in a LegacyStringOptions.
这里开发的时候有个执行速度的点需要关注:
The JavaScript API provides two entrypoints for compiling Sass to CSS, each of which has a synchronous variant that returns a plain CompileResult and an asynchronous variant that returns a
Promise. The asynchronous variants are much slower, but they allow custom importers and functions to run asynchronously.When using Dart Sass, compile is almost twice as fast as compileAsync, due to the overhead of making the entire evaluation process asynchronous.
所以核心方法使用的
sass.compile()而不是sass.compileStringAsync(),然后使用Promise手动封装并返回compile。插件系统生效代码:
1
2hexo.extend.renderer.register('scss', 'css', compile);
hexo.extend.renderer.register('sass', 'css', compile); -
将测试工具从 Jasmine 切换为 Jest
hexo-renderer-dartsass 使用的是 nodejs + TypeScript 开发,不使用 Babel 而是使用 tsc 构建。
为了使用 TypeScript 编写 Jest 测试用例,需要使用 ts-jest 作为 TypeScript 预处理器,并且还需要在根目录创建一个配置文件 jest.config.js:
1
2
3
4
5
6
7/** @type {import('ts-jest').JestConfigWithTsJest} */
module.exports = {
coverageDirectory: 'coverage',
preset: 'ts-jest',
testRegex: '(/__tests__/.*|(\\.|/)(test|spec))\\.ts$',
testEnvironment: 'jest-environment-node-single-context',
};这里还有注意下
testEnvironment这个配置项,它的值是一个 npm 依赖 jest-environment-node-single-context:默认情况下
testEnvironment的值是'node',但是运行测试会报错:1
Rejected to value: [TypeError: J.getInterceptor$ax(...).map$1$1 is not a function]
原因是,Jest 的关键特性之一是上下文隔离(Jest VM),因此测试不会通过操纵全局上下文对其他测试产生副作用。
但在实践中,Jest 的实现以某种方式混淆了全局类型,这种方式几乎破坏了针对 Uint8Array 等标准类型的测试中的所有
instanceof检查。jest-environment-node-single-context 提供了一个单上下文 Node.js 环境,它通过对所有测试使用单独的上下文,让 Jest 的上下文隔离特性失效,从而使
instanceof检查可以按预期工作。Jest 支持 TypeScript 还需要安装一些依赖:
@types/jest、@types/node以及ts-node等等。几个基本知识
1
2
3
4
5
6
7
8describe('my beverage', () => {
it('is delicious', () => {
expect(myBeverage.delicious).toBeTruthy();
});
test('is not sour', () => {
expect(myBeverage.sour).toBeFalsy();
});
});describe(name, fn)创建一个将几个相关测试组合在一起的块test(name, fn, timeout)别名it(name, fn, timeout)运行测试的测试方法expect可以使用不同的“匹配器”去验证不同类型的东西toBeTruthy()和toBeFalsy()就是匹配器
Jasmine 可以几乎无缝接入 Jest
Jest 入门推荐查看这篇 How To Write Unit Tests In NodeJS With JEST Test Library
语法基本一致,除了异步语法有点不同,前者使用
expectAsync()而后者使用.resolves和.rejects。例如:1
2
3
4
5// Jasmine
await expectAsync(fnuc).toBeRejectedWithError();
// Jest
await expect(func).rejects.toThrowError();
await expect(compile.call(hexo, data, {})).resolves.toBe('html body{width:100%}');第一次跑覆盖率,也了解了覆盖率的统计:
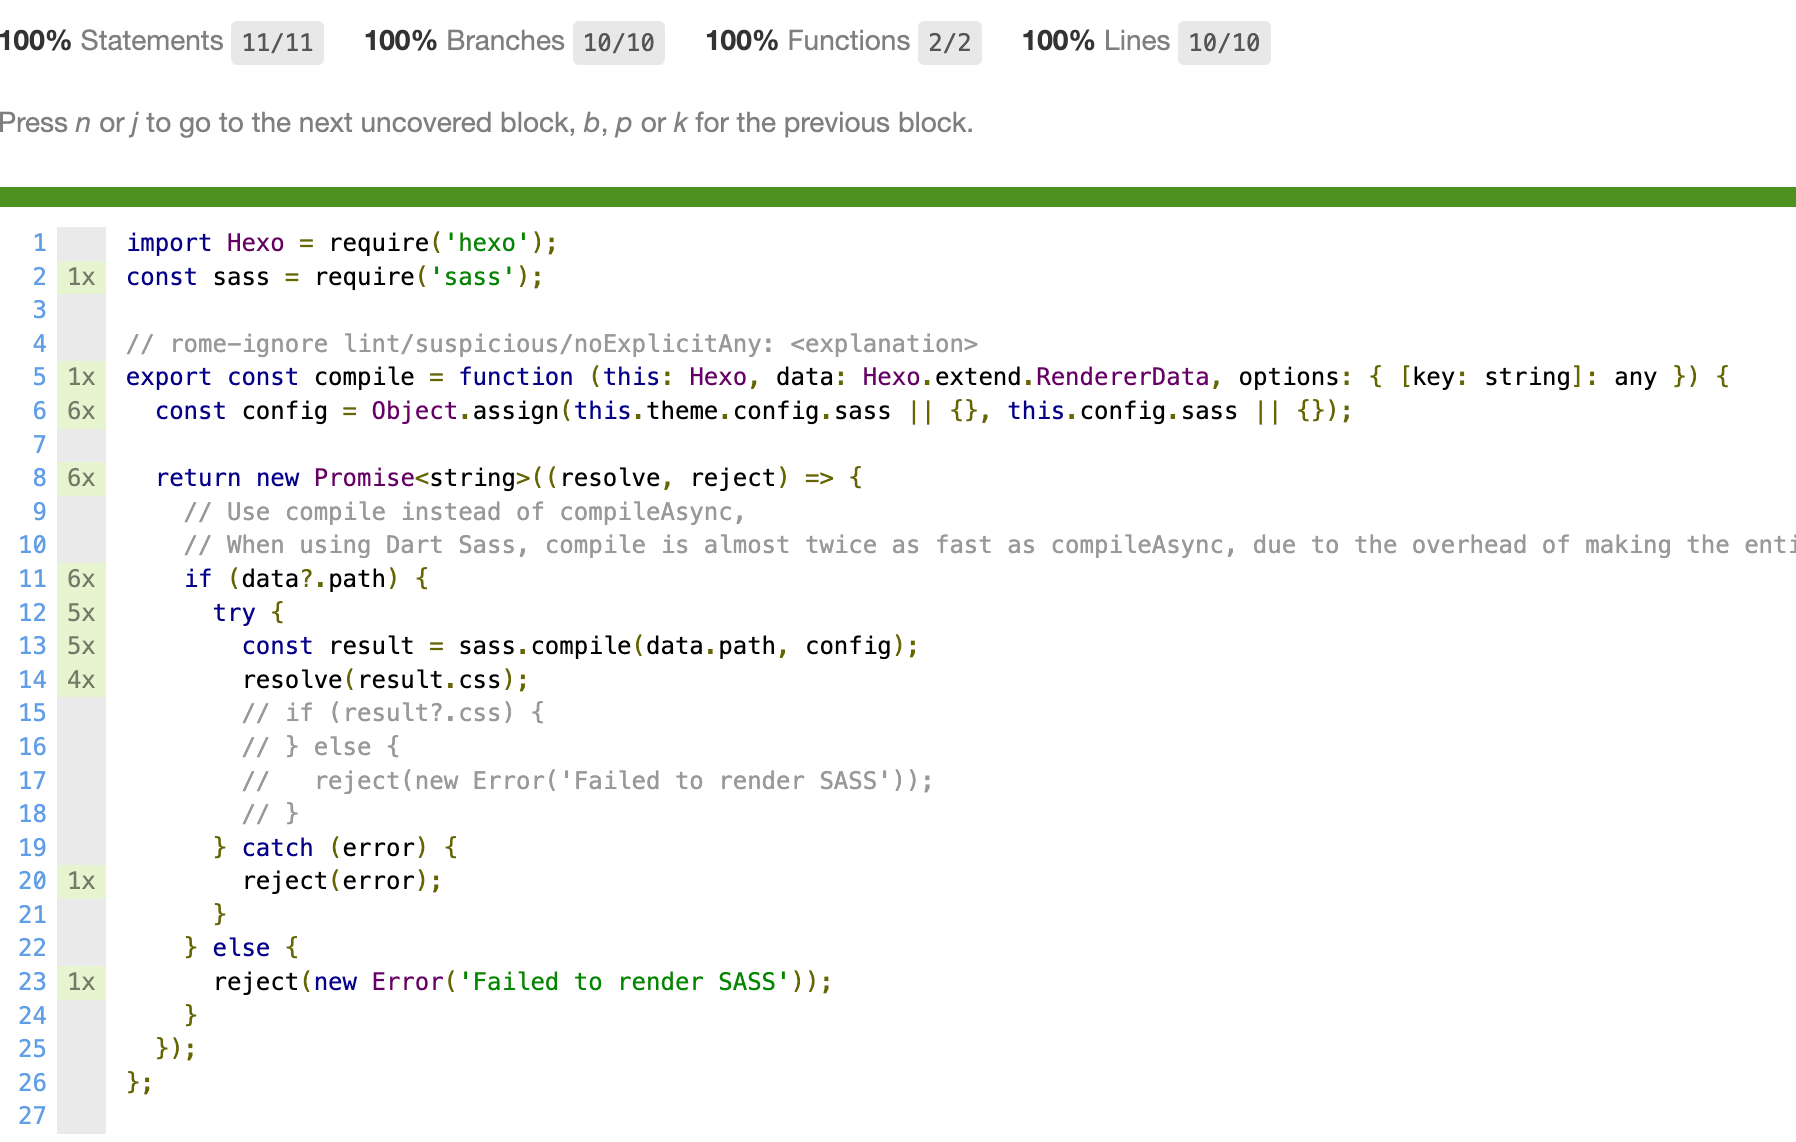
一个小插曲:What is the difference between ‘it’ and ‘test’ in Jest?
在看 Jest 的文档的时候,发现几乎使用的都是
test()方法,而 Jasmine 基本使用的都是it()方法。但是继续使用it()在 Jest 中运行发现并不会报错,而且测试用例运行正常。The Jest docs state
itis an alias oftest. So they are exactly the same from a functional point of view. They exist both to enable to make a readable English sentence from your test.意思就是从功能的角度来看,它们是完全一样的。它们的存在都是为了让测试能够形成可读的英语句子。
Hexo 插件系统
主题内有一个 scripts 的目录,这是一种 Hexo 插件(另一种是上面提到的 npm 依赖形式,以 hexo- 开头的包),在启动时会自动载入 scripts 里面的脚本。
除了 /themes/xxx/scripts 还可以将简单插件放在根目录 /scripts 下。
这种插件系统核心的功能其实就是修改 Hexo 源代码或编写插件,可以查看 Hexo API。
Hexo 扩展
不过我觉得 Hexo 最有魅力的是它的扩展,通过扩展我们可以和 Hexo 做直接交互,几乎可以做任何自定义的行为。
举例来说,把标题转为小写:
我们可以在插件脚本中使用过滤器这个扩展来实现
1 | hexo.extend.filter.register('before_post_render', function(data){ |
过滤器用于修改特定文件,Hexo 将这些文件依序传给过滤器,而过滤器可以针对文件进行修改,这个概念借鉴自 WordPress。
换掉默认的 Markdown 渲染器 hexo-renderer-markd
为了更好的支持 footnote 和 katex或latex 等语法,可以将默认的 markdown 渲染器更换为 hexo-renderer-markdown-it,主要是 markdown-it 有丰富且命名清晰的插件供 hexo 使用。
安装插件
1 | pnpm add markdown-it-abbr markdown-it-checkbox markdown-it-container markdown-it-deflist markdown-it-emoji markdown-it-footnote markdown-it-imsize markdown-it-ins markdown-it-katex markdown-it-mark markdown-it-regexp markdown-it-sub markdown-it-sup |
在 site 的 _config.yml 中添加渲染配置:
1 | markdown: |
问题排查:
markdown-it 未生效
原因是没有卸载默认安装的 hexo-renderer-marked。
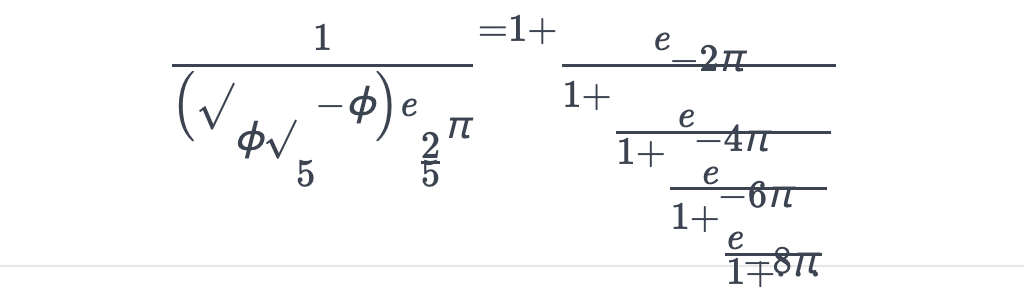
markdown-it-katex 样式问题
原本的 markdown-it-katex 样式有问题:
替换成 @iktakahiro/markdown-it-katex 后正常渲染了:
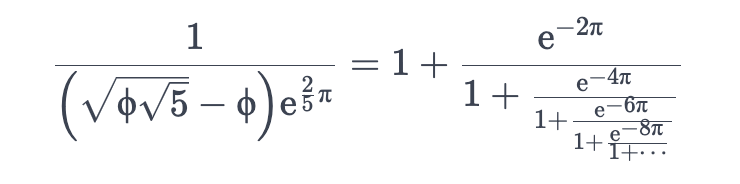
注意,在配置文件中要加上引号
- '@iktakahiro/markdown-it-katex',因为@在 yml 中属于保留关键字符。
markdown-it-container 未生效

使用这个插件还需要修改两处地方:
-
需要在主题内增加样式支持
1
2
3
4
5
6
7.note {
@include md-container(#6ab0de, #e7f2fa)
}
.tip {
@include md-container(#1abc9c, #dbfaf4)
}
/* ... */ -
在 site 的 _config.yal 配置中添加自定义块的声明
1
2
3
4
5
6
7markdwon:
plugins:
- name: markdown-it-container
options: note
- name: markdown-it-container
options: tip
# ...

无从下手的 post 头信息
1 | --- |
- tags 要写成数组格式,真的无语,而且无文档说明,指南靠试
配置评论系统
book 主题推荐了三款评论系统:
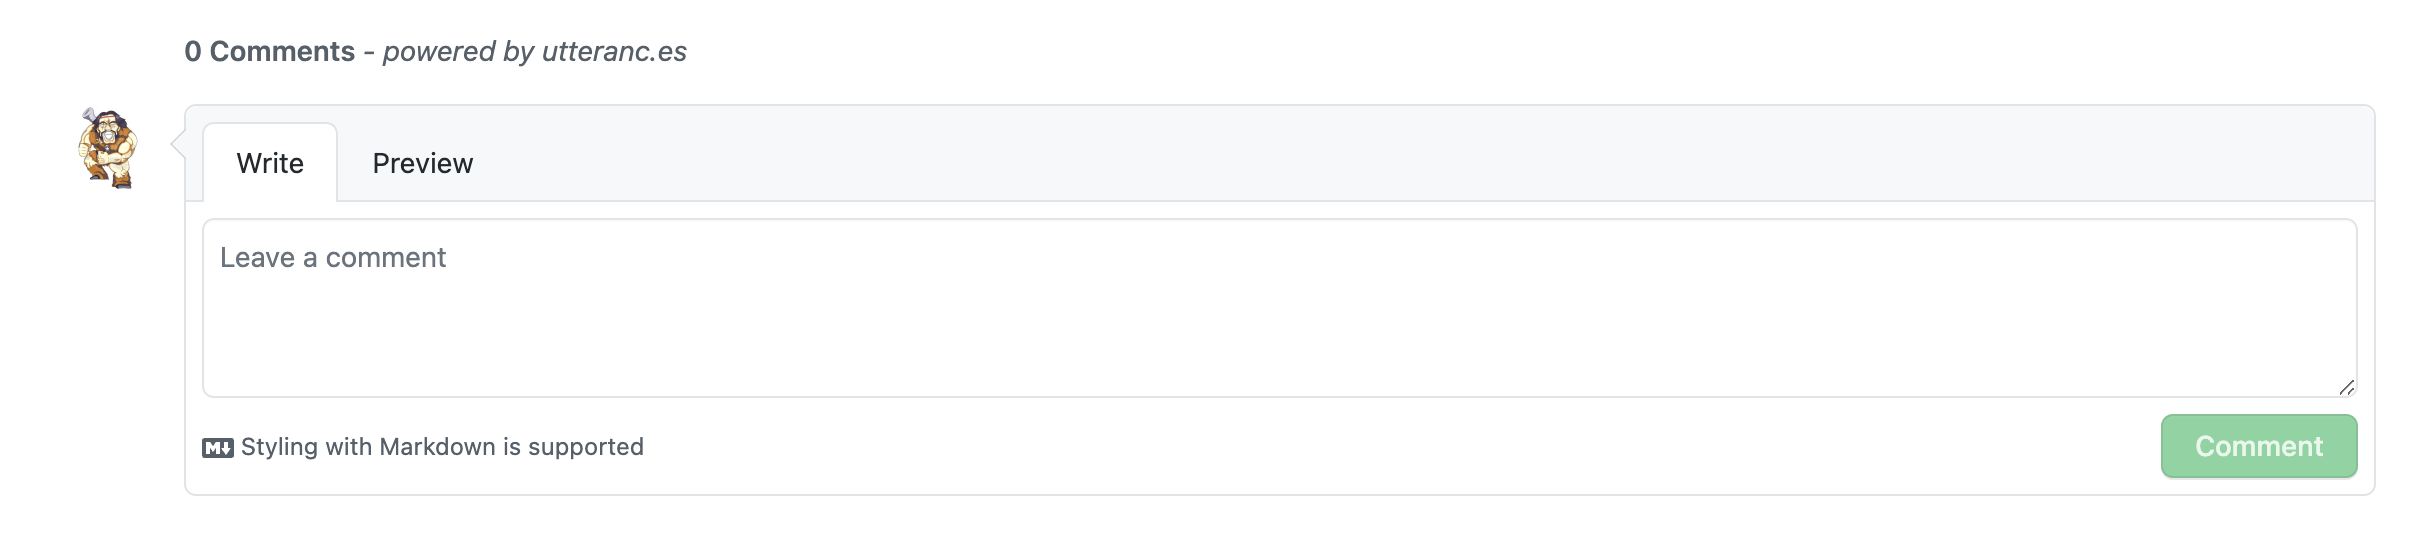
gittalk 和 utterances 的样式都很 Github。不过由于该主题使用 gittalk 需要将 githubId 和 GitHub Application Client ID 公开放在代码里。所以还是选择了 utterances 。
按照 utterances 的使用指南,很轻松就能使用起来:
最后,这个主题的 google_analytics 代码有点古老(无法收集数据),简单升级了下:
1 | <% if (theme.google_analytics){ %> |
Github Action
GitHub Actions 是一种持续集成和持续交付 (CI/CD) 平台,可用于自动执行生成、测试和部署管道。
GitHub Actions 不仅仅是 DevOps,还允许您在存储库中发生其他事件时运行工作流程。 例如,您可以运行工作流程,以便在有人在您的存储库中创建新问题时自动添加相应的标签。
发布 node 模块到 npm
创建一个 npm-publish.yml 的 Action:
1 | name: xxxx |
其中 on 指定此工作流程的触发器。上面的代码使用 release 的 created 事件,也就是当新的 release 发布后,就会触发改工作流。
另外不要忘了配置 npm 发布的 token:
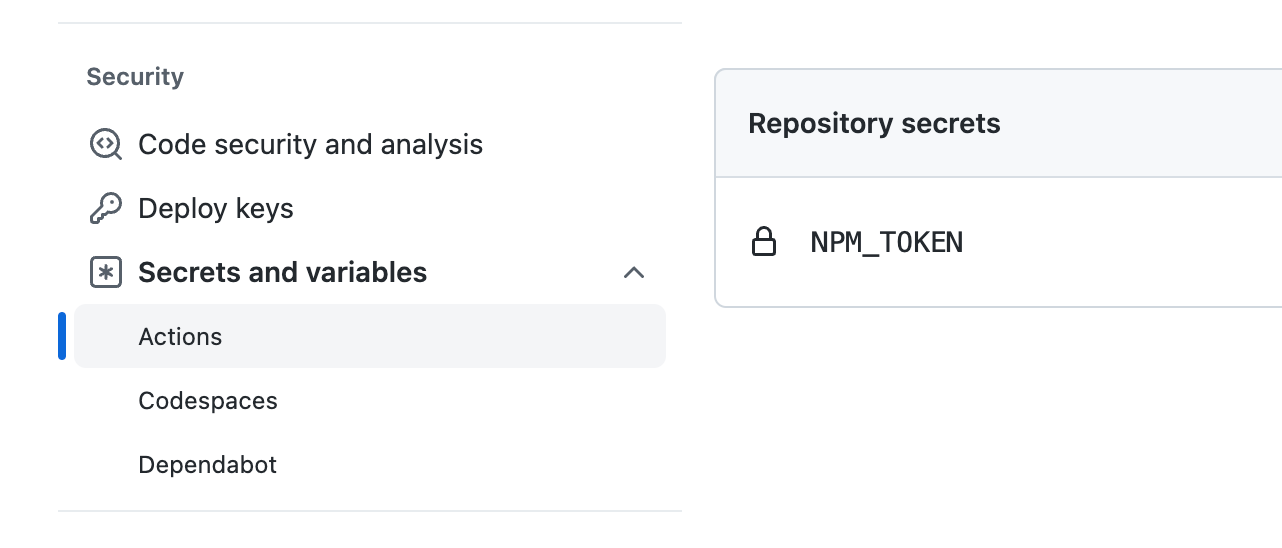
Github workflow
工作流程是一个可配置的自动化过程,它将运行一个或多个作业。 工作流程由签入到存储库的 YAML 文件定义,并在存储库中的事件触发时运行,也可以手动触发,或按定义的时间表触发。
工作流程在存储库的 .github/workflows 目录中定义,存储库可以有多个工作流程,每个工作流程都可以执行不同的任务集。 例如,您可以有一个工作流程来构建和测试拉取请求,另一个工作流程用于在每次创建发布时部署应用程序,还有一个工作流程在每次有人打开新议题时添加标签。
Github Pages
xxx.github.io
xxx 必须和用户登录名一致,而不是昵称,如下图所示登录名是 iotale,所以这个仓库应该是 iotale.github.io

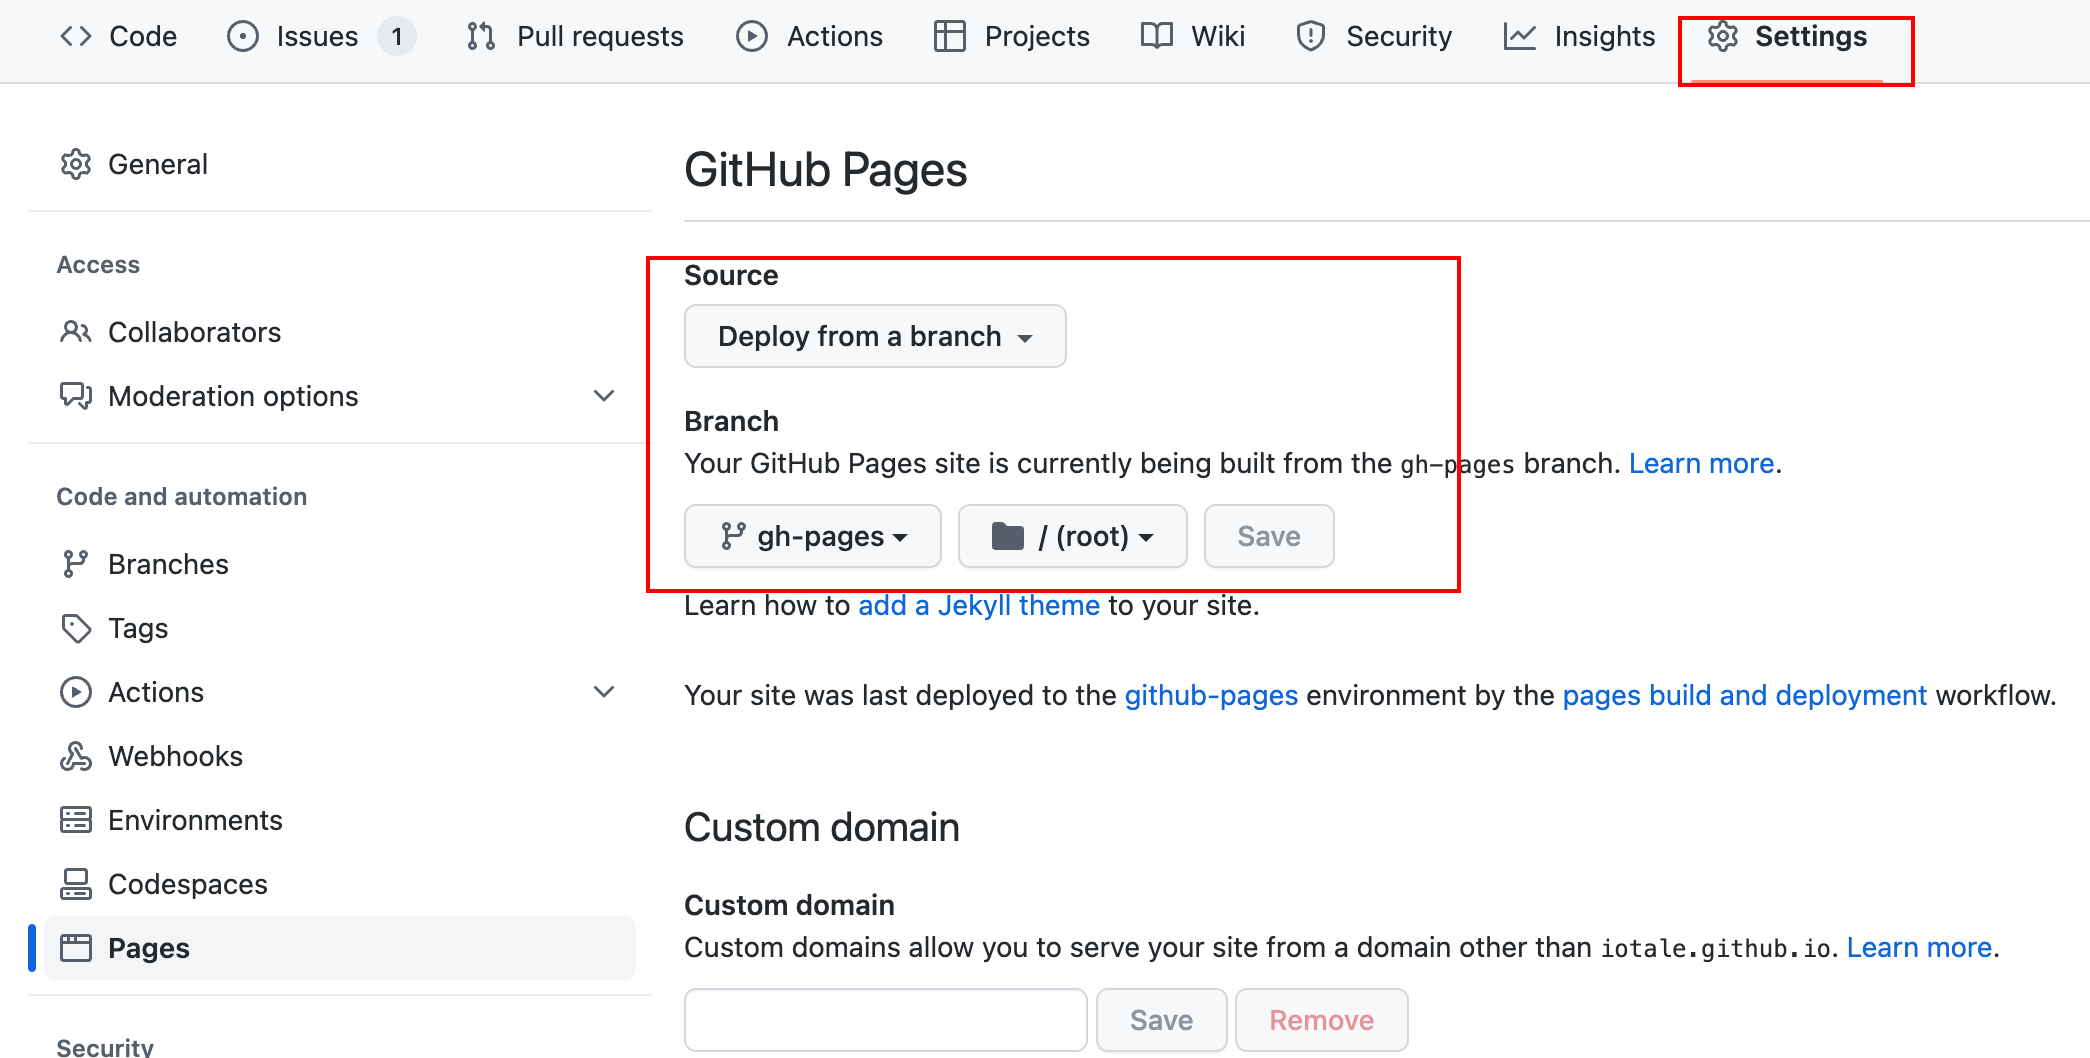
如何部署
如果没有启用特殊的 Gtihub Action 的话,设置里最好将 Github Pages 的部署方式修改为下面的格式,否则会出现 404 的情况。
工作流文件细节
1 | name: Deploy Pages |
-
一定要注意下面这个配置:
1
2permissions:
contents: write否则在跑 Action 的时候就会报错
github action: Permission to git denied to github-actions。因为
peaceiris/actions-gh-pages@v3.9.2需要这个权限:Note that the
GITHUB_TOKENthat is created by the runner might not inherently have push/publish privileges on GHES. You might need to create/request a technical user with write permissions to your target repository. -
GITHUB_TOKENNote that the
GITHUB_TOKENis NOT a personal access token. A GitHub Actions runner automatically creates aGITHUB_TOKENsecret to authenticate in your workflow. So, you can start to deploy immediately without any configuration.在每个工作流程运行开始时,GitHub 会自动创建唯一的
GITHUB_TOKEN机密以在工作流程中使用。 可以使用GITHUB_TOKEN在工作流程运行中进行身份验证。这个 token 不需要用户创建,也不需要去环境变量中配置,使用的时候直接
${{ secrets.GITHUB_TOKEN }}就可以获取到。
后续
- 静态博客管理器Qexo,将文章、页面、配置索引一键缓存至数据库,更优雅地进行文章编辑
- 同步部署 vercel